大学毕业设计的题目是
区块链中身份溯源技术的仿真与评估,所以这个假期开始另开一个分支学习一下区块链的相关技术,这篇记录一下以太坊的基本概念与实验环境的搭建,很多区块链技术的基础概念以及重要知识可能会单独整理一篇(懒狗昨天没记录哈哈哈哈)。这篇先看看以太坊。
基本概念
(待补充)
实验环境搭建
Geth客户端下载
实验平台这里我就选择windows了,方便写代码。官网那个下载页面一直提示在拉服务器的资源,从网页源码看的话就是从github的仓库里拉了一下release,然后查询commits里的sha值,截取8位拼凑一下就好了。比如当前最新的版本是v1.9.25,那就从https://api.github.com/repos/ethereum/go-ethereum/commits/v1.9.25里看一下那个sha的前8位就好了。
比如最新的v1.9.25的版本下载链接就是:https://gethstore.blob.core.windows.net/builds/geth-windows-amd64-1.9.25-e7872729.exe。(但是为了速度还是要梯子)

或者可以从https://ethfans.org/wikis/Ethereum-Geth-Mirror里下载,这个是国内的镜像,但是不是最新的。
安装后的目录如下所示:
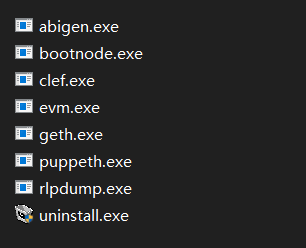
他们的作用分别如下:
1 | geth.exe --- 用来执行以太坊命令 |
geth常用命令
下面是geth命令的所有可选子命令:
1 | account Manage accounts |
创建并运行一个私链
先在本地新建一个文件夹用于存放数据文件信息,然后创建一个新的创世块所需的文件,最后使用geth init命令来生成一个创世块。
首先我们新建一个账户,--datadir可以指定用户秘钥存放的位置,不带这个参数默认就在家目录下了。
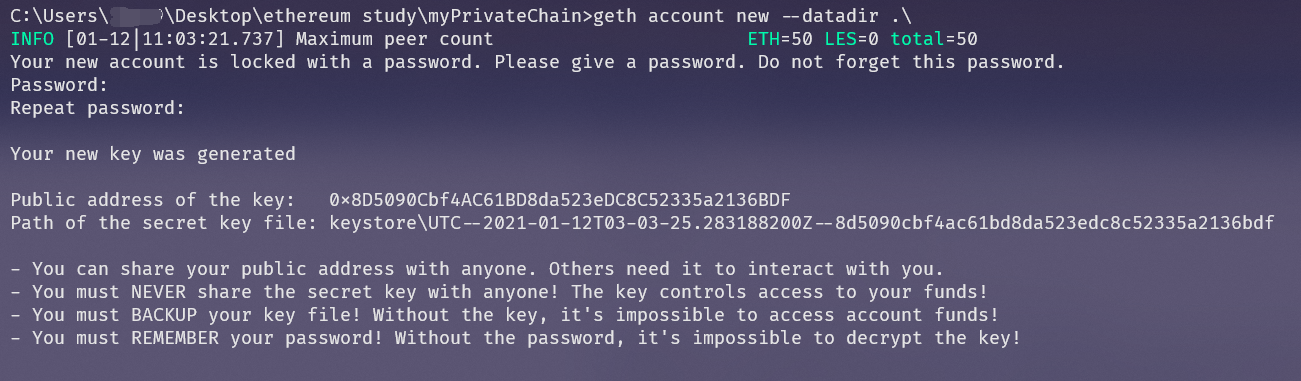
账户地址为:0x8D5090Cbf4AC61BD8da523eDC8C52335a2136BDF。
构建初始化创世块所需的文件,我的如下:
1 | { |
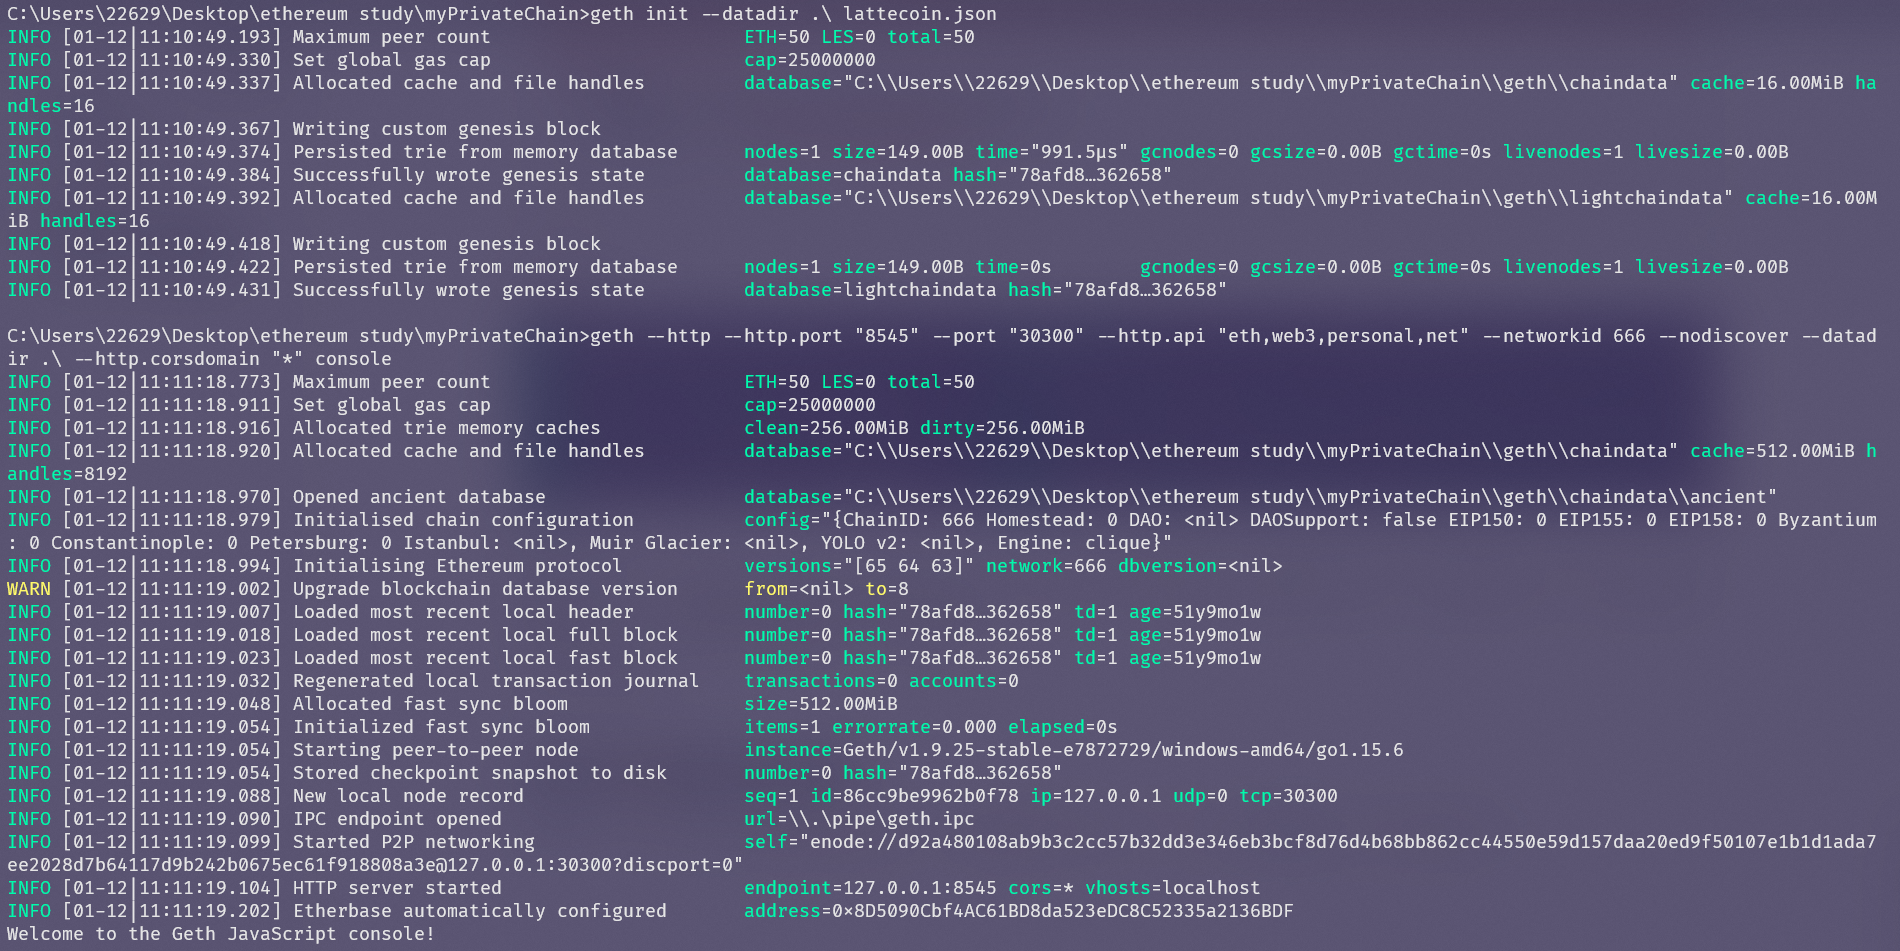
创建创世块:

启动实例:
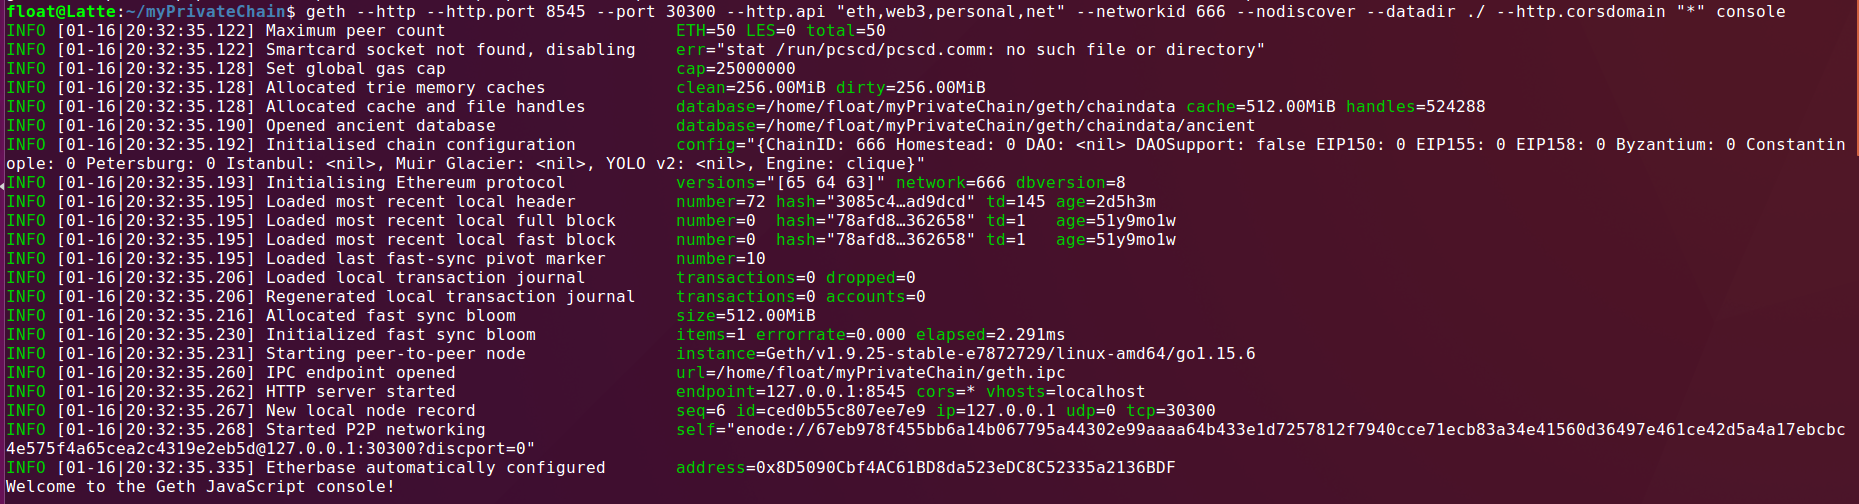
geth --http --http.port "8545" --port "30300" --http.api "eth,web3,personal,net" --networkid 666 --nodiscover --datadir .\ --http.corsdomain "*" console
启动好后结果如下:
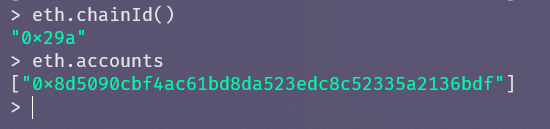
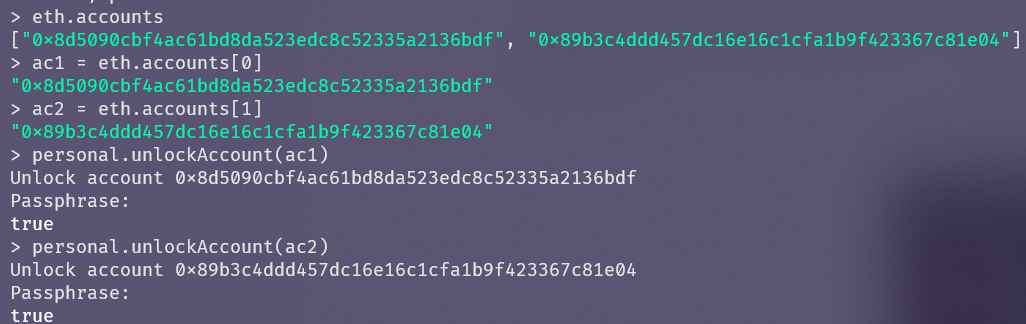
我们可以查看所有账户信息以及chainId(与上述文件内容中chainId一致):
使用以太坊钱包和浏览器
在正式使用我们的账户之前,先要解锁账户,但是新版本出于安全考虑,禁止了http方式的解锁用户,所以我们可以在启动参数上加一个--allow-insecure-unlock来允许该操作。然后我们解锁用户:
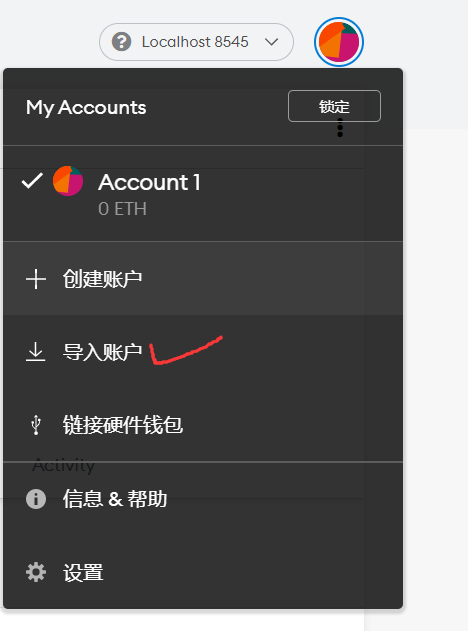
钱包方面,当前Ethereum Wallet和Mist都已经停止维护了,我这里用的是MetaMask,Edge有这个插件,直接下载就可以了。
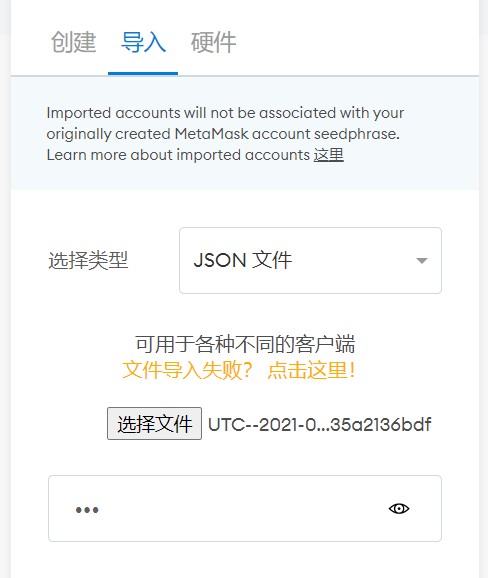
首先导入账户:
把我们的私钥json文件上传进去,并输入密码(创建账户时所用的密码):
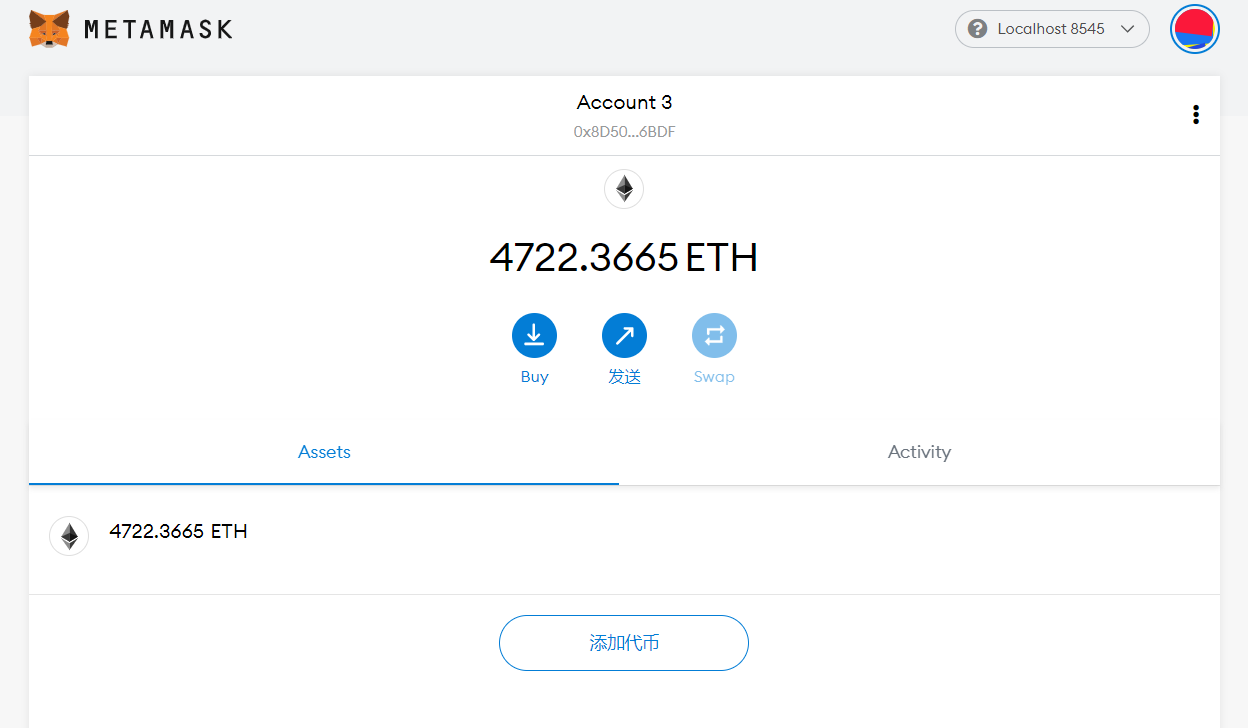
导入后就可以查看账户信息了:(导入过程还是挺慢的....我差不多用了6,7分钟)
多个节点加入
实验环境拓扑图
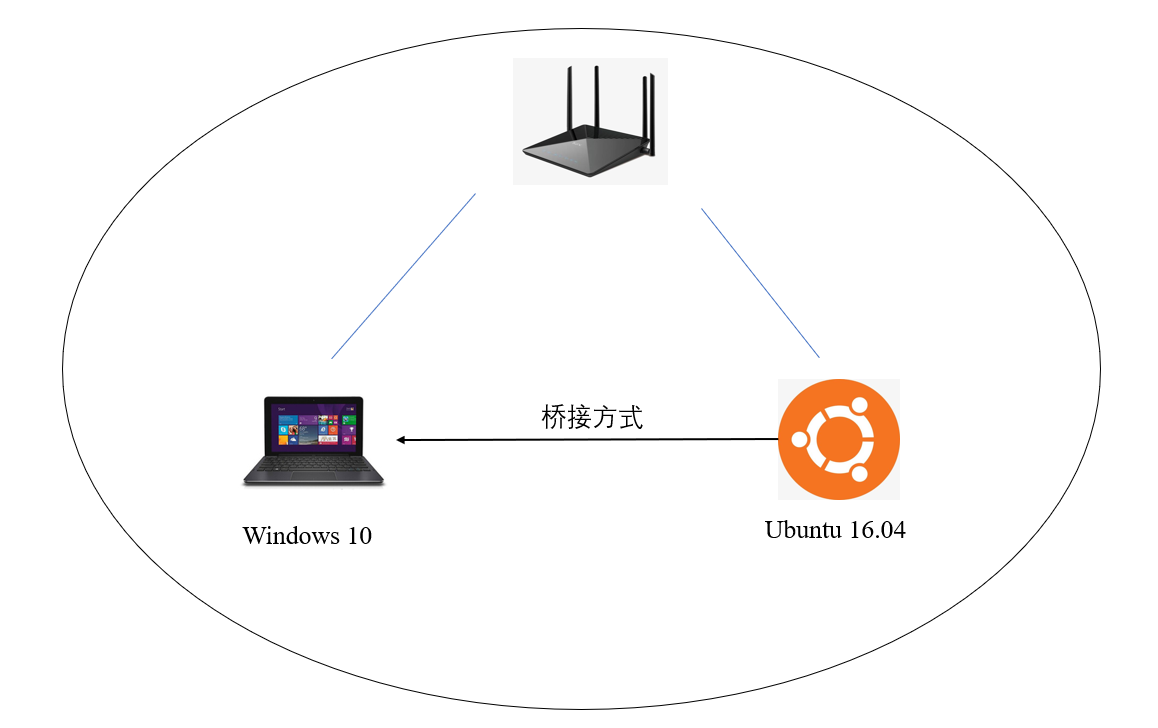
实验具体步骤与结果
这里我的用虚拟机当做另一个节点来加入我的私链网络,linux下的geth环境搭建这里不重复,只需要指定相同的networkid并指定bootnodes参数就可以了。
首先先启动windows上的链,可以看到当前的网络中节点数量是0:
启动命令:geth --http --http.port 8545 --port 30300 --http.api eth,web3,personal,net --networkid 666 --nodiscover --datadir .\ --http.corsdomain "*" --allow-insecure-unlock console

这里要记下enode的信息,如我的(换一下ip地址),启动结果中就有,或者通过admin.nodeIndo.enode查看:enode://d92a480108ab9b3c2cc57b32dd3e346eb3bcf8d76d4b68bb862cc44550e59d157daa20ed9f50107e1b1d1ada7ee2028d7b64117d9b242b0675ec61f918808a3e@192.168.10.1:30300
然后去虚拟机里,首先使用相同的genesis.json文件,创建创世块:

启动,启动参数:
geth --http --http.port "8545" --port "30301" --http.api "eth,net,web3,personal" --http.corsdomain "*" --nodiscover --networkid 666 console
然后我们通过console来手动添加节点,使用我们上面的enode信息就可以了,使用admin.addPeer函数:
这里注意,自己实验的时候请把windows防火墙关掉,或者像我这样允许geth通信:
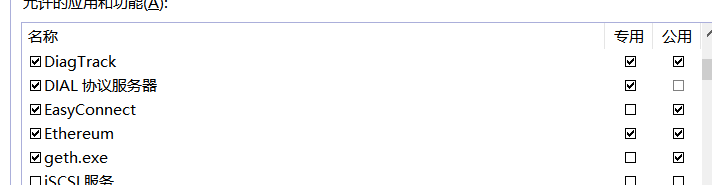
看你自己的实验环境了,我的虚拟机是桥接的方式连接到局域网里的,所以我勾选的是公用,这样你就可以添加节点了:
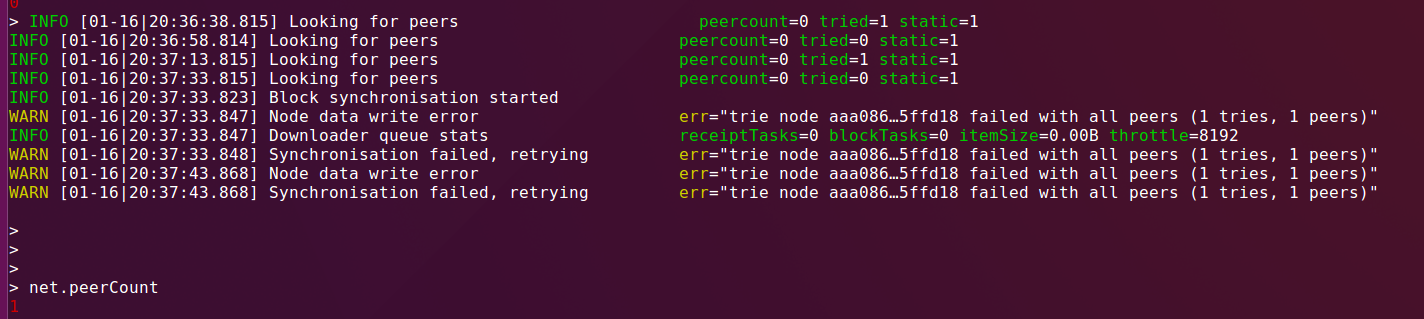
可以看到,这个节点在持续拉取新的信息,并且peerCount变为了1,我们在windows这边验证一下:
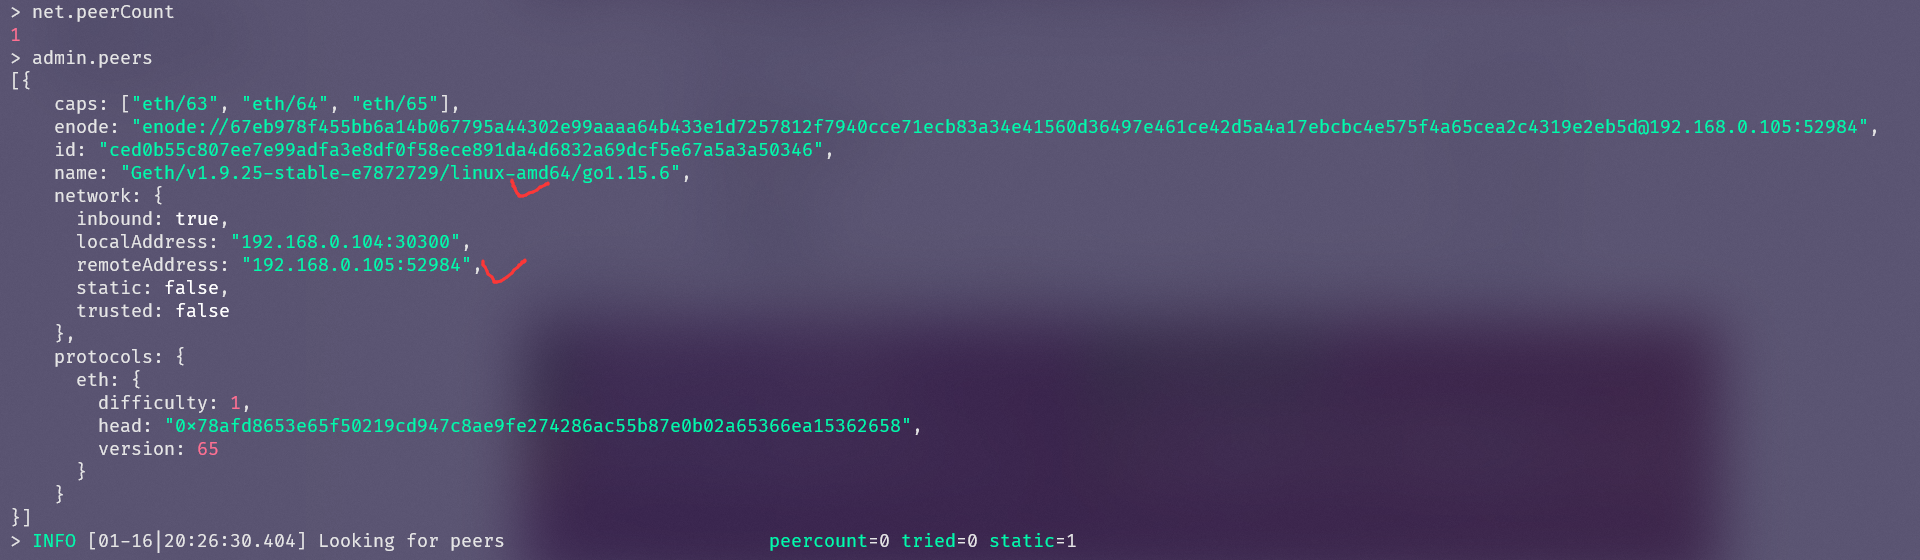
可以看到虚拟机的信息,说明已经成功加入到网络里了。
我们尝试挖矿(先解锁账户),看看那边会不会同步信息,使用miner.start(),参数为线程数:
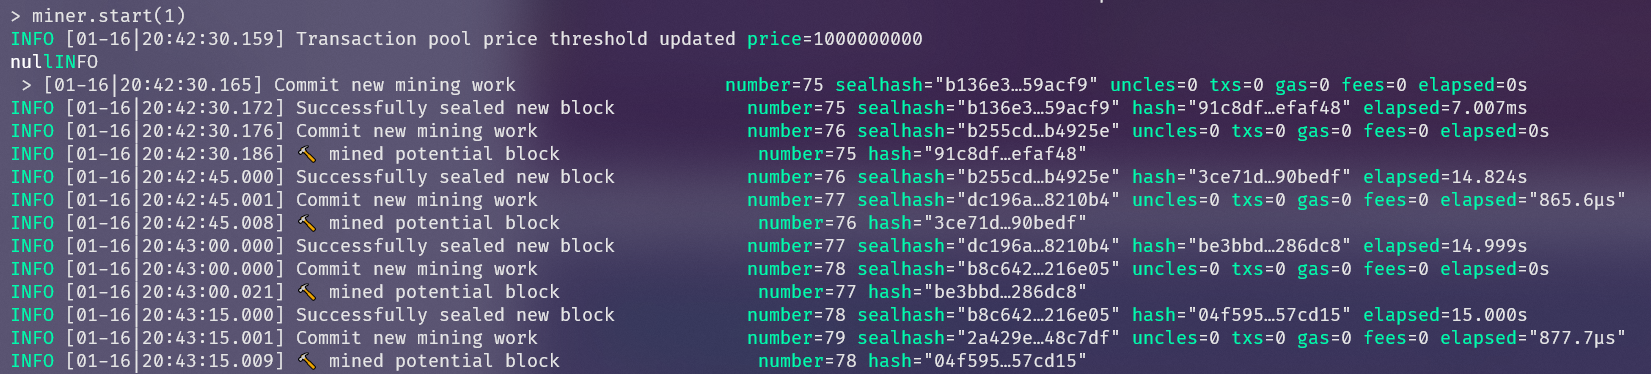
最后miner.stop()就可以停止挖矿了,我们在虚拟机这边查看结果:

在停止挖矿后,可以看到Imported new block headers的字样,说明同步成功,下面的仍旧是持续的等待数据的状态。
后续
环境搭建好了以后,就是编写合约测试了,详细的见下一篇